If you have recently purchased our Complete Sharpening Kit as an introduction to the world of hand-, jig- or waterstone-sharpening, congratulations! With a high quality ceramic Japanese waterstone and the ability to flatten it, you have in front of you the basic equipment with which to make your knives or tools very sharp indeed, and to keep them that way. We’ve put together this guide to help you get the most out of your Kit.
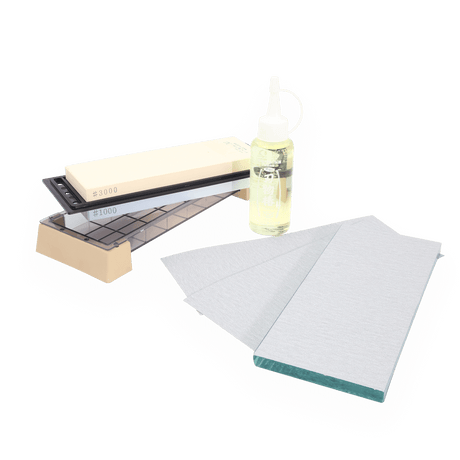
The Glass Plate and Sandpaper
The function of the glass plate is to flatten the waterstone. Your Kit ships with two different grades of sandpaper, and we recommend adhering a sheet of each grit to either side of the glass plate, giving you a two-sided flattening plate. The glass is of a size that will allow you to cut three flattening sheets from one piece of sandpaper.
Use the lower grit sandpaper to flatten the coarser stone (#1000) and the higher grit for the finer stone (#3000 or #6000, depending on your kit).
Always flatten your stones before beginning the sharpening process, while they are dry. This will give you more life from the abrasive and is quicker than flattening the stones while they are wet. Flattening wet stones with the adhesive backed abrasive can lead to the paper swelling and going out of flat, or the adhesive coming free from the glass plate.
Draw some pencil lines on the stone to see which ones are abraded off and which ones are left on as you flatten. If the process of flattening is not removing your pencil marks, the sandpaper may have captured too much stone dust to work properly. Remove the built up dust from the sandpaper with a brush or broom and continue flattening.
For best results use circular motions while flattening, or work your stone in several directions (across, diagonally, top to bottom). Once your pencil marks have been worn off, your stone should be nice and flat. Before placing any tools on the stone, it is important to wash your stone very well after flattening. This will ensure that any grit from the abrasive can’t be embedded in the stone and ruin the edge of your tools or knives.
The Camellia Oil
The camellia oil is never to be put on the stones — lubricate and soak the stones with WATER ONLY. Use the camellia oil to lightly coat your tool or knife after sharpening, washing and drying. This will protect the edge from moisture. The Camellia oil does not have a use-by date and, barring a tragedy involving a lost lid and 180 degree inversion, should last many years in normal use.
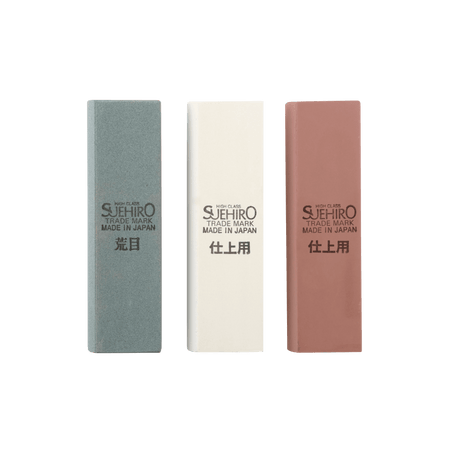
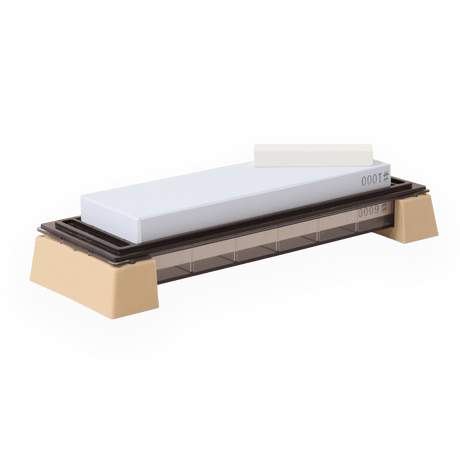
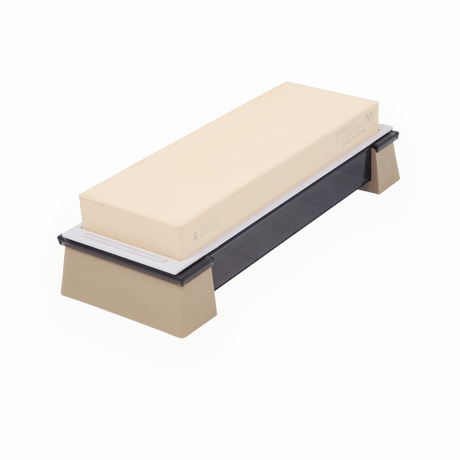
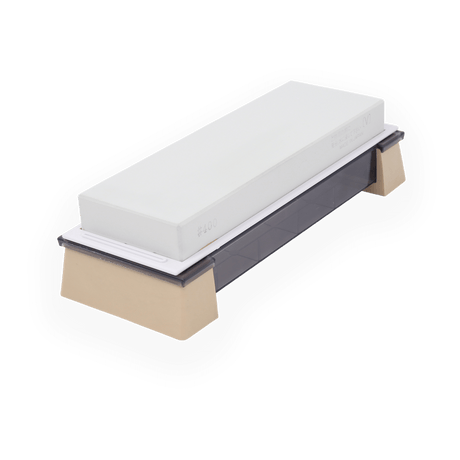
The Cerax Waterstones
Soak the stone for around ten minutes before use— the coarser the stone, the less time is required. When placed in water, it is usually possible to see small air bubbles escape from the stone. Once the air bubbles no longer appear, the stone may well be ready to be put to use. If your stone quickly becomes dry during the sharpening process, it is too dry and is soaking up the water that is necessary to act as a cutting agent. Resubmerge the stone for a couple of minutes before continuing.
We find a plastic spray bottle filled with water to be the easiest and cleanest way of lubricating a stone during use, though a rub down with a wet hand or rag works just as well. Some users prefer to sharpen while retaining as much slurry as possible on top of the stone, while others deliberately remove it. We suggest you experiment to figure out whether it makes a difference for you.
Freehand sharpening undoubtedly requires practice to deliver consistent results, but don’t be put off by the idea that you may not get it right the first time. Sharpening is a skill that is acquired with practice and patience. We hope you enjoy this first great step along a long and fulfilling road, and if you have any questions, please don’t hesitate to contact us at info@japanesetools.com.au.